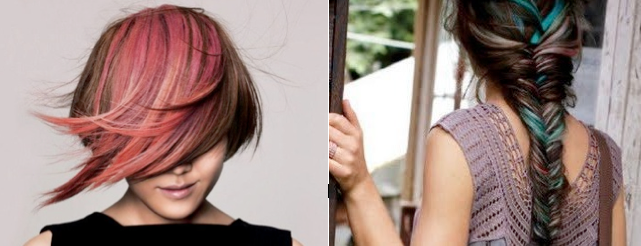
I mean, who DOESN’T want pink/purple/blue hair à la Lauren Conrad, Katy Perry, and My Little Pony? (I personally never owned a single My Little Pony, but won’t judge you if you did.) Rainbow manes in the form of a dipped ponytail, highlights, or full head of hair are the current capital of Trend City, but if you don’t want to move there permanently (and be the girl with pink hair at a business meeting), you can achieve the look via hair chalking and wash it out with one shampoo!
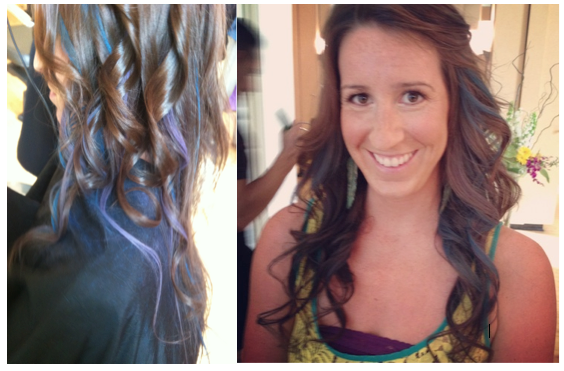
I got purple and blue chalk highlights at Vis-a-Vis The Salon by the talented Katie Cammisa ($30 and up), but if you don’t live in Atlanta or are just one of those crafty, DIY gals, I’ll take you through the process so you can attempt it at home.
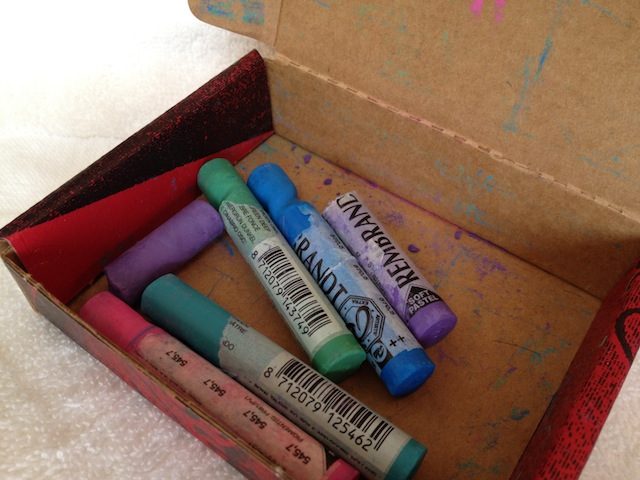
 1. Use SOFT PASTELS (if you get oil pastels, you’ll have a bigger mess than a Real Housewives reunion on your hands). Pick these up at an art store for a few bucks a pop. Katie used Rembrandt brand, but any will do. Blue and purple work best on brunettes, but blonds can, of course, pull off pink. Bitches.
2. Plan your look with the help of Pinterest, Google Images, US Weekly, Cyndi Lauper videos, whatever. Katie did strands on the front pieces and bottom layers of my hair, but I have to admit, some color came off on my neck, so in the future, I’d go with the top layer and pieces that don’t touch the skin as much. Chalk highlights are extra sass with a bun, braid, or ponytail and then you can go to town with any and all layers of the hair since it will be up. Pixie cuts look cute with chunky highlights or random wisps of color throughout, just the tips (ha), or if you have time–all the hair! If you have bangs and like a good beauty risk, just color them for a badass ‘do. Pink bangs? Yes please.

3. If you’re blond/light-haired, try chalking on dry hair–using water may dye the hair through a few washes, but if that’s fine with you, get wet, girl. Brunettes/redheads, dampen your tresses with water before chalking OR Katie recommends spraying strands with Shu Uemura Depsea Foundation spray to help set the color.
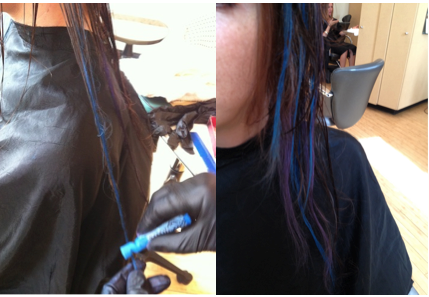
4. Time to chalk it up! Make sure you’re wearing a covering over your clothes or an old shirt as it can get messy. Twist the hair as you color it with the chalk. Go from root to tip, go ombre, try two colors on one strand, take a break and have a cocktail–do whatever feels right.
 5. If you’re chalking your hair dry, you can lightly brush the strands to get excess chalk off before styling. If you’re chalking your hair damp, blow dry (with minimal brushing on the colored pieces) when you’re done. Using a curling or straight iron is fine and will actually set the color better, as Katie did for me. Voila!

W+P Tips: Keep in mind that color can come off on your skin or clothes, so sport a dark (or matching) top if you’re wearing your hair down (it comes out of clothing, though). It’s best to use a clarifying shampoo when getting the chalk out, but not a must. And remember to condition your hair thoroughly (feel free to use a more intense conditioner than normal) to replenish the moisture lost by the chalking.
Now go rock out with your chalk out.
LYLAS,
Ashley
